")
")
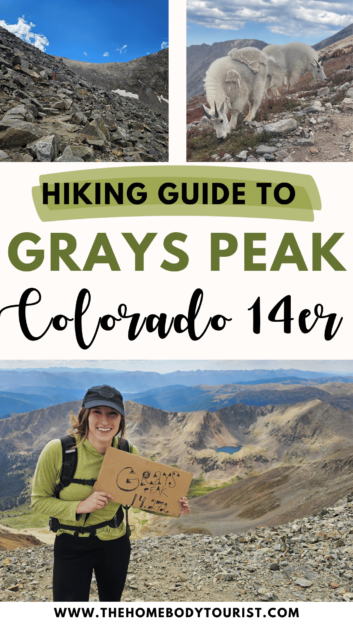
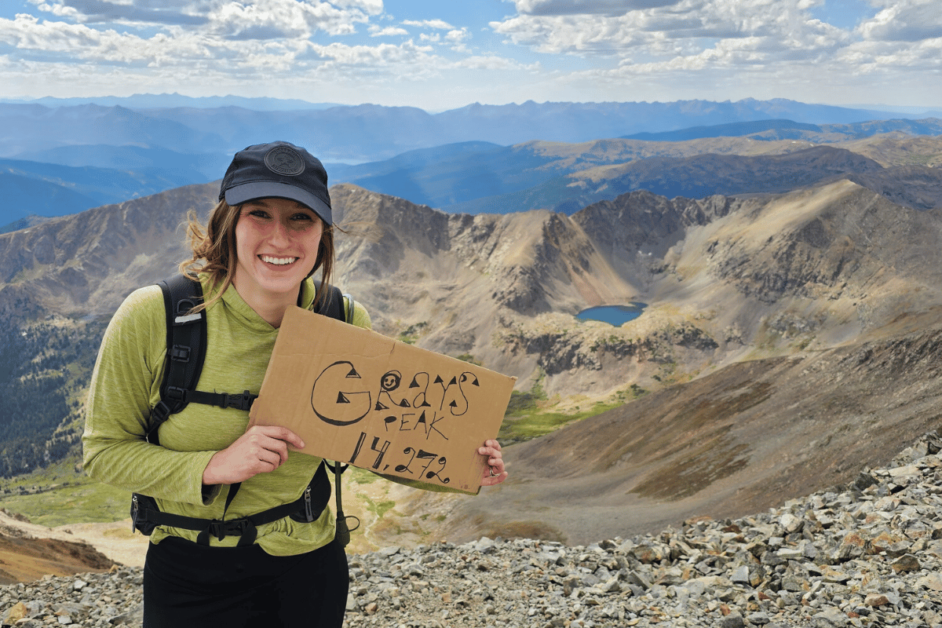
Guide to Hiking to Grays Peak in Colorado: A 14er for First-Timers
Colorado boasts a stunning array of 14ers, mountains that reach an elevation of at least 14,000 feet above sea level. These towering peaks offer adventurous hikers a chance to challenge themselves physically and mentally while experiencing breathtaking views. Among these, Grays Peak is a popular choice for first-time 14er climbers due to its relatively accessible trail and close proximity to Denver. In this guide, we will take you through the essentials of hiking Grays Peak, ensuring a safe and memorable adventure.
To be completely honest, hiking a 14er was never on my bucket list. I’m a bigtime easy to moderate hiker and I typically stay right around 3-5 mile trails. HOWEVER, during my recent weekend trip to Idaho Springs, my friend asked if I wanted to try it. I happily agreed BUT was terribly unprepared for the trek.
SOOO, learn from some of my mistakes and go into the journey a bit more ready than I was.
This site contains some affiliate links to products. I may receive a commission for purchases made through these links at no extra cost to you. There are only products included that I truly love. I APPRECIATE your support!
Table of Contents
Grays Peak Quick Facts
- Distance: 7.3 miles
- Elevation Gain: 3,005 ft.
- Dog-Friendly: Yes!
- Location: Arapaho National Forest (Near Idaho Springs, CO)
Getting to Gray’s Peak Trailhead
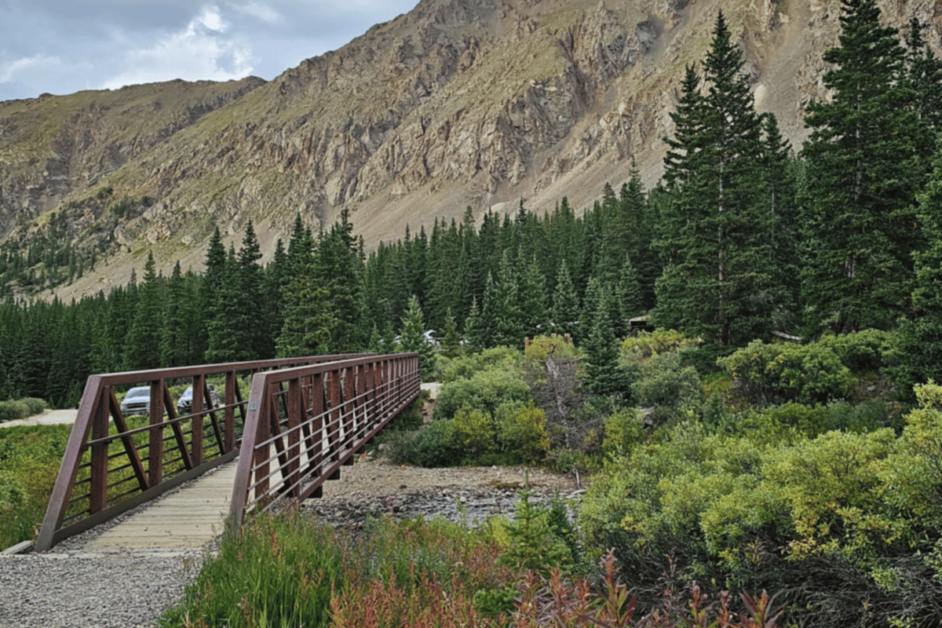
The Grays Peak trailhead is located just 22 miles from downtown Idaho Springs and 54 miles from downtown Denver.
There are two primary routes to Grays Peak: the Grays Peak Trail and the Kelso Ridge. For first-time 14er hikers, the Grays Peak Trail is the safer and more straightforward option. The trailhead can be reached by taking Stevens Gulch Road off I-70, and it’s well-marked.
However, the road to the trailhead is ROUGH. I would definitely recommend a high clearance vehicle to make the trek up the rocky 2+ mile road. But, we did see small cars succeeding. I’m just not sure I would take the risk.
Things to do & know BEFORE Hiking Gray’s Peak
Do Your Homework
Before embarking on ANY 14er hike, it’s crucial to be well-prepared. Start by researching Grays Peak specifically, including trailhead locations, route options, and current weather conditions. Websites like 14ers.com and the Colorado Fourteeners Initiative are excellent resources for up-to-date information and trip reports.
Check the Weather
Weather in the high Rockies can (and usually does) change rapidly, and it’s essential to be aware of current conditions before your hike. Keep an eye on forecasts, but also prepare for unexpected weather shifts. Early morning starts are recommended to avoid afternoon thunderstorms.
Acclimatize
Hiking at high altitudes can be challenging, especially if you’re coming from lower elevations. Spend a day or two in a nearby town at a higher elevation, like Georgetown or Idaho Springs, to acclimatize before attempting Grays Peak. This will help reduce the risk of altitude sickness.
Mistake #1: We hiked Grays Peak immediately after getting off a plane from sea-level Texas. Which led to a headache and some pretty serious nausea. Altitude sickness can be very dangerous, so be sure you are prepared and listen to your body. There is NO shame in turning around.
Gear Up
Having the right gear is crucial for a safe and enjoyable 14er hike. Grays peak is a much easier and more accessible 14er than other Colorado peaks, BUT it’s still important to be prepared.
Some essentials include:
- Sturdy hiking boots with ankle support (I’ve always worn Keen boots)
- Layered clothing for changing temperatures (Loooove WoolX base layers and socks)
- A waterproof and windproof jacket (it get’s chilly as you hike up)
- A hat and gloves (I forgot a hat…rookie mistake I know.)
- Sunscreen and sunglasses
- Plenty of water (at least 2-3 liters)
- Snacks and high-energy foods
- Hiking Poles (would have been very helpful on the way down!)
- A map and compass or GPS device (We just downloaded the map from Alltrails, but a GPS device is always a good idea in case of an emergency).
- A fully charged phone with emergency numbers saved
Here’s a complete day-hiking packing list!
Start Early
If possible, begin your hike well before sunrise. Early starts help you avoid afternoon thunderstorms, which are common in the Rockies during the summer. Plus, watching the sunrise from the trail is a magical experience.
Expert hikers (not me) recommend being off the mountain by 1pm. For Grays Peak, this would mean starting by 7am or earlier. We started much later and we saw the clouds roll in right around 12 (mistake #3). Thankfully, they weren’t storm clouds.
Tips to follow WHILE Hiking Gray’s Peak
Pace Yourself
14ers are not races. Take your time, especially at higher elevations where the air is thinner. Listen to your body, and if you experience signs of altitude sickness, such as nausea, dizziness, or a pounding headache, consider turning back.
I took A LOT (a loooooot) of breaks on the way up and made it to the top in about 4 hours.
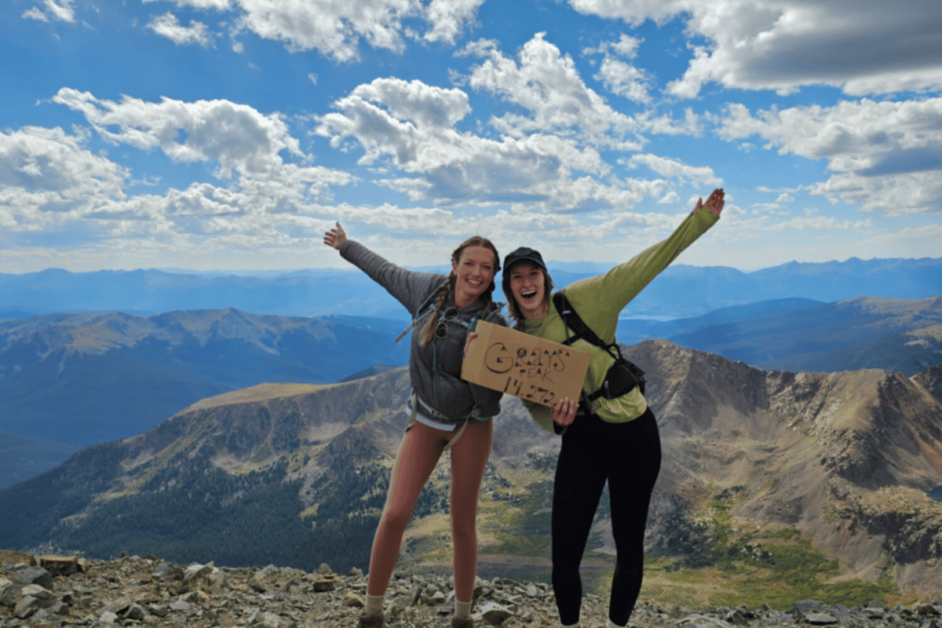
Summit Etiquette
When you reach the summit, be mindful of other hikers. Grays Peak is a popoular trail and it can get crowded, so share the space and be courteous. Take some time to soak in the incredible views of the surrounding peaks and valleys.
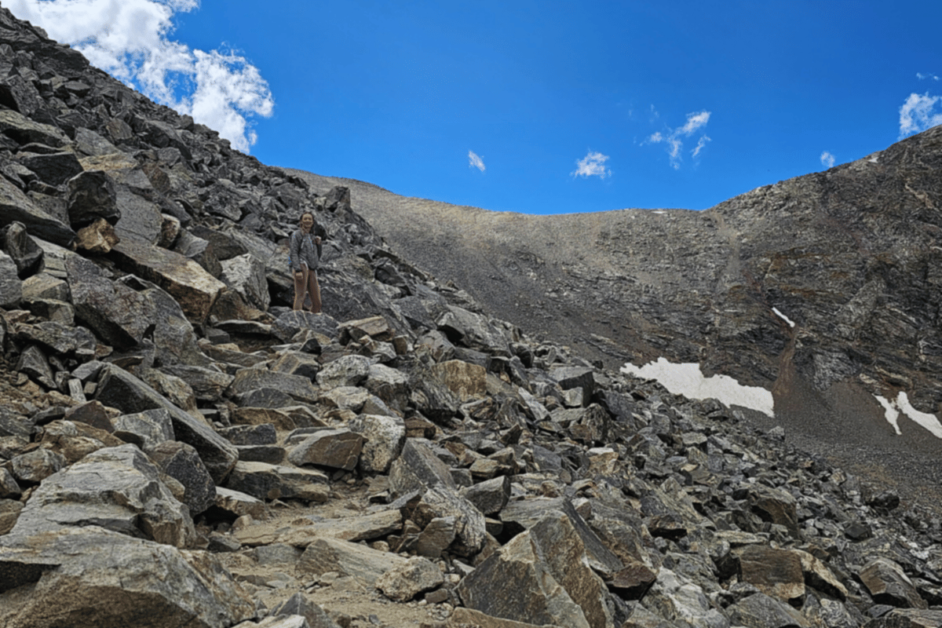
Descend Safely
The descent can be just as challenging as the ascent. Watch your footing, as loose rocks and scree can make the descent tricky. Use trekking poles if you have them for added stability.
Leave No Trace
Lastly, (as always) practice Leave No Trace principles. Pack out all your trash, stay on designated trails, and be respectful of the fragile alpine environment.
Bonus! The Grays Peak Trailhead connects to Torrey’s Peak (another 14er). It would add on another 500+ feet of elevation gain and another mile or so. If you are feeling up to it, you can bag two 14er’s in one day. Unfortunately, I did not have it in me… 🙁
Is a hike to Grays Peak Worth it?
Yes! (I can say so now after being removed from the situation for a week LOL)
Hiking Grays Peak is an excellent introduction to the world of 14ers for first-time climbers. With proper preparation, the right gear, and a respect for nature, you can conquer this majestic Colorado peak and gain a new appreciation for high-altitude hiking.
Remember, safety should always be your top priority, and enjoying the journey is just as important as reaching the summit. So lace up those boots, and get ready for an unforgettable adventure in the Rockies!
Where to stay near Grays Peak
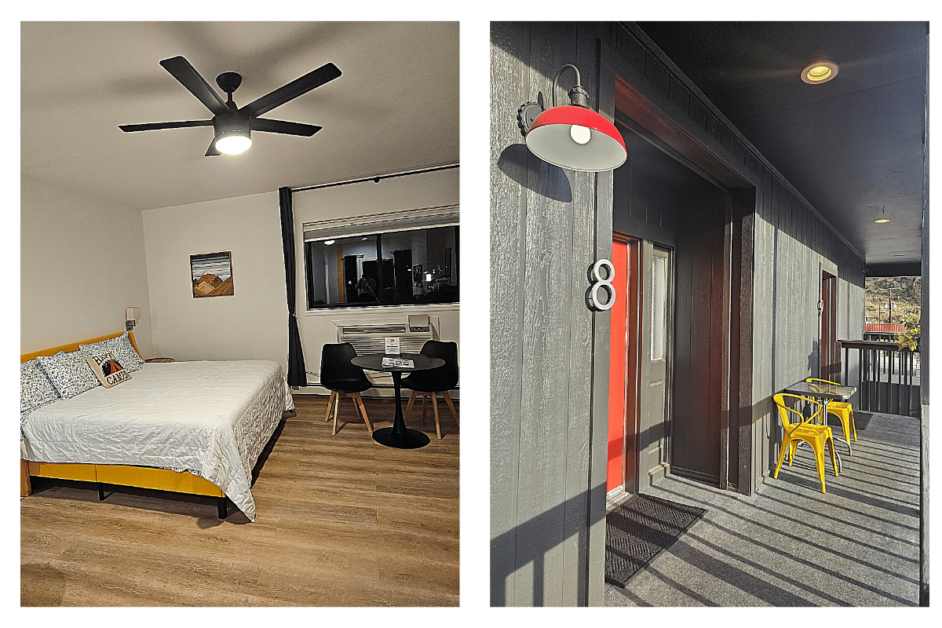
Uplift Inn was the PERFECT home base for all of our Idaho Springs’ adventures. It’s just 23 miles from the trailhead and close to all of the best restaurants in Idaho Springs. You can check out my full review on our stay here!
Other Things to do near Grays Peak
Idaho Springs is a true Colorado gem packed with SO MANY exciting things to do! From white water rafting to ziplining, do not let your adventures end after hiking Grays Peak!
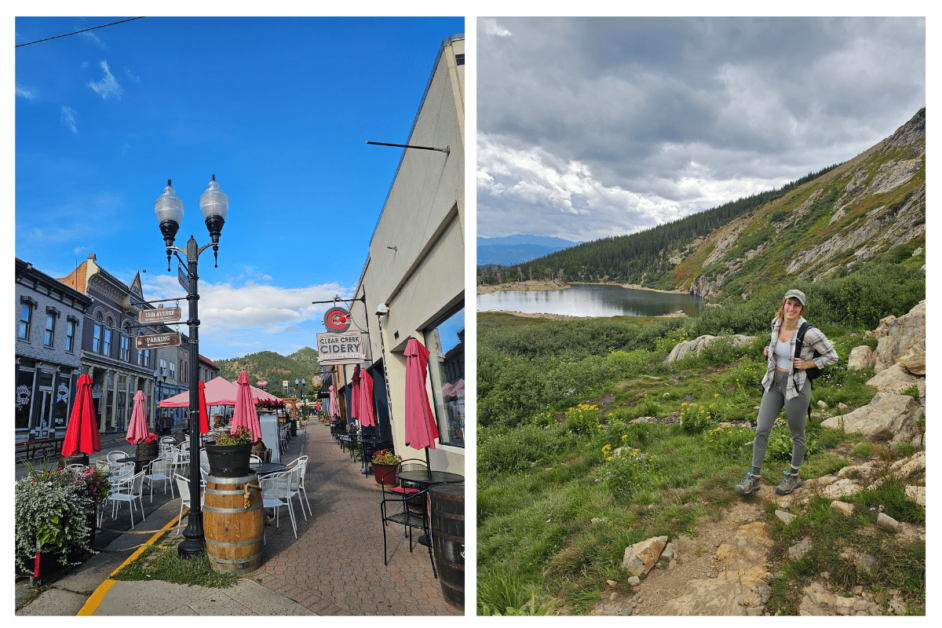
- Go for a hike! We especially loved the hike to St. Mary’s Glacier!
- Shop along Miner Street
- Conquer the Ropes Course
- Tour a goldmine
- Drive to the top of Mount Evans (for when you legs need a break)
- Go white-water rafting
- Soak in the hot springs at Indian Hot Springs Resort
Keep Reading:: The BEST 3-DAY Idaho Springs Itinerary
")

Be the first to comment